Something I enjoy
In my travels throughout the schools I occasionally saw some worksheets and the like that were personally made by the professor. They were mostly either a Word document that had been printed or something written in Sharpie that was copied over again. They are perfectly functional as the topics, but would students have a greater buy in to the subject if the worksheet looked better? Is there a benefit to producing something that is crisp and professional looking, just as we should do with our appearance and that of our classrooms. I think yes.
That being said there is only a benefit if the worksheet/ handout is able to be made in a timely manner, there is no reason to spend three times the time to make something, unless you know you will continue to use it, which is only knowable after it has been tested.
So the only solution is to have some skills in producing the item in a professional appearing manner, which a program like Photoshop would help with. Unfortunately Photoshop is expensive and given that piracy is … unethical, I will give a brief rundown of the open source and free alternative, Gnu Image Manipulation Program, otherwise known as GIMP.
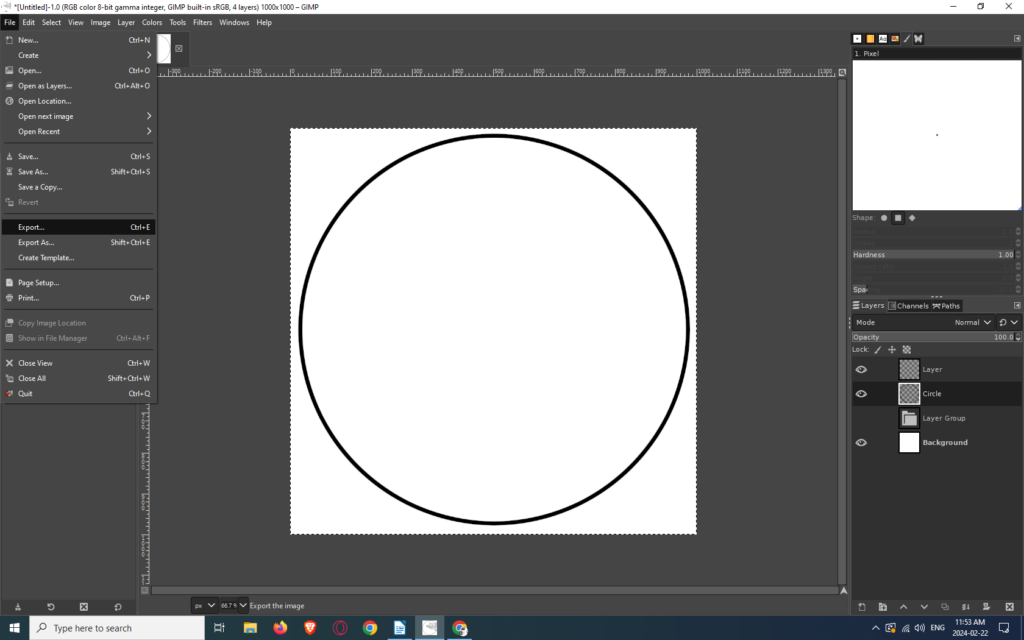
We’ll make a circle and I’ll go over the process for perfection.
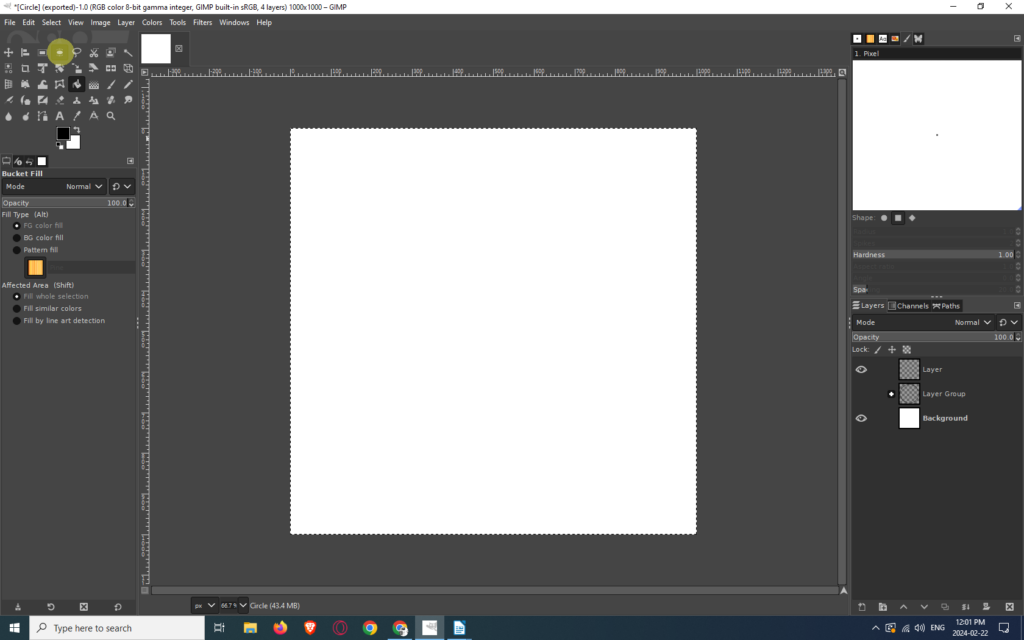
0. Make a new layer. All Additions should be on their own separate layer so that they can be removed easily if needed.
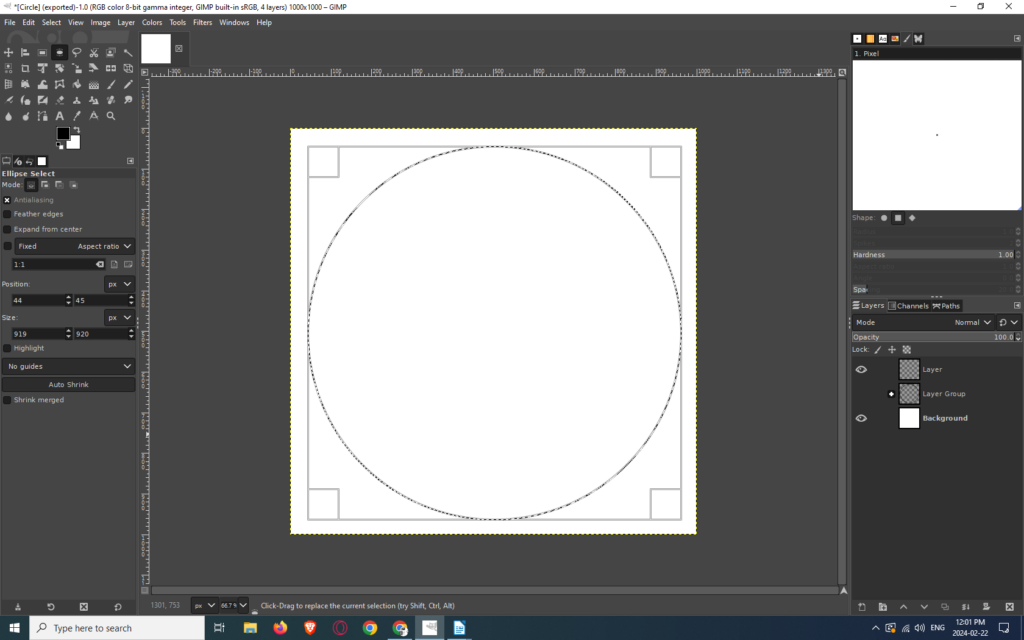
2 . Click and drag it on your canvas (don’t worry about the roundness yet).
3. While holding the mouse button down, press shift. It will now be a circle.
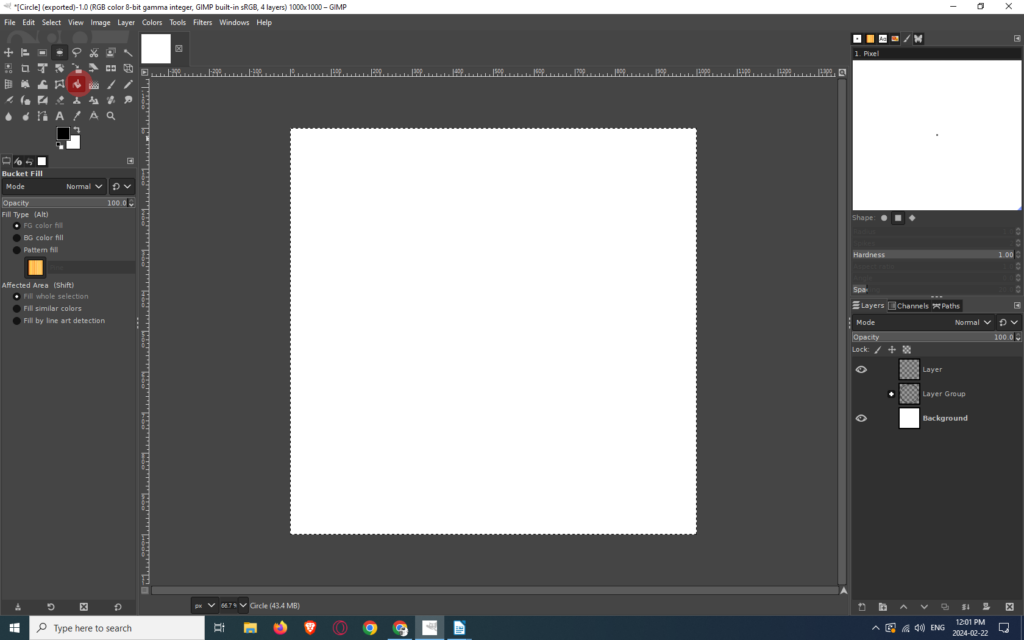
4 . Get the Bucket tool.
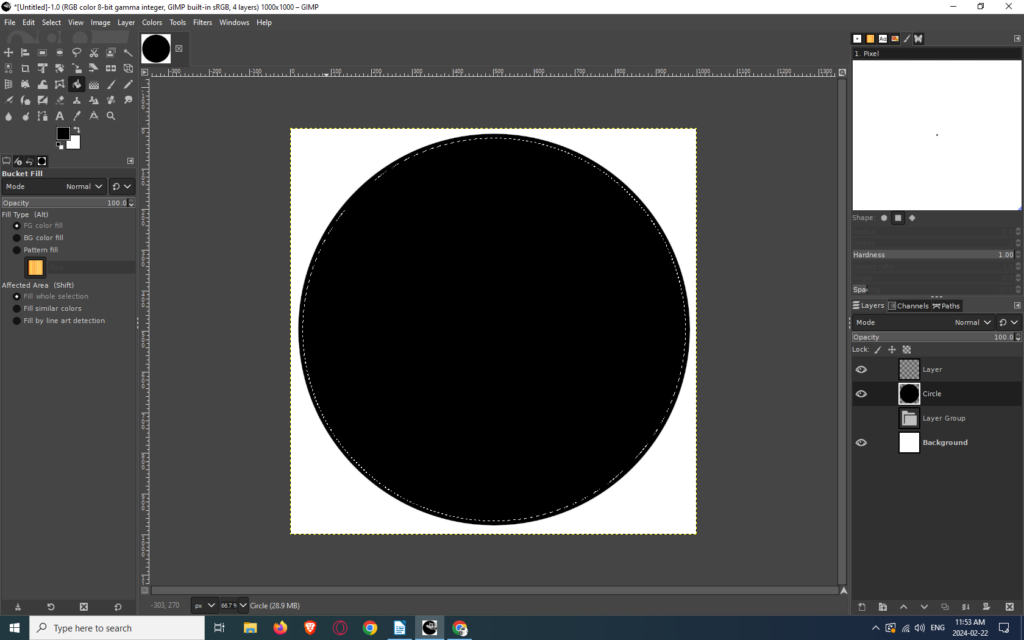
5.And fill in the selected circle with your desired color.

6 . While your selection is still the circle go to “Select” in the top toolbar. There will be the drop down menu and pick “Shrink” (10th down from the top, 3rd in the second section).
7. Choose how many pixels you will shrink it by [I picked 10]. There will be the selector dotted line inside the black circle now.
8 . Press the “delete” key on your keyboard. The middle of the circle will now be white instead of black
8.5 If it looks like THIS:
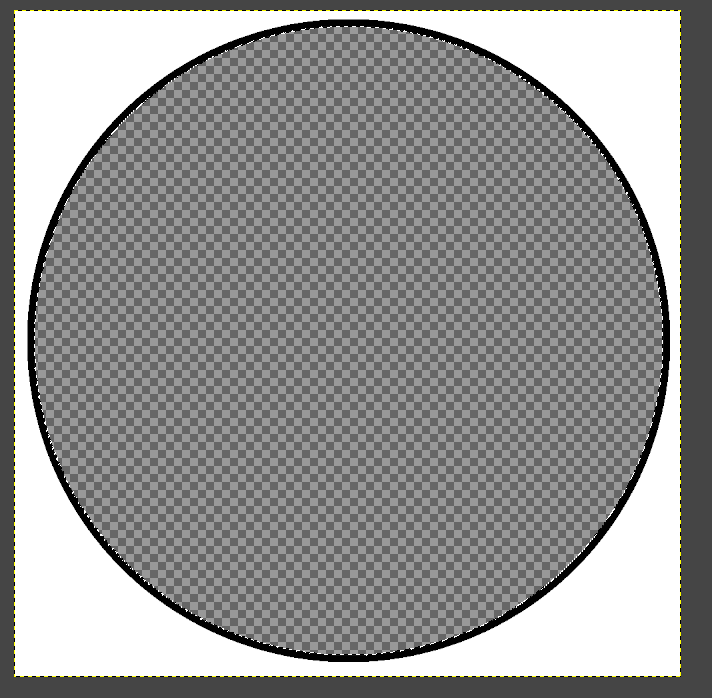
Then you did not do step 0. and were on the background layer. Just use the bucket but change the colour to white instead.
9. Click on “File” in the taskbar and navigate down to the “Export” button (or Press CTRL and E on your keyboard). Export your file and use it!
10. You might want to save your image as a file with all your layers. If so, go to “Save” under “File” in the taskbar and do so.
I hope this worked kind of well for you. If you think of something you need to do there is a community of people who use the program so most often I just google “Can I do X in GIMP” and there’s often a page on some site where someone already answered the question. GIMP is your oyster if you are willing to look up or experiment enough to crack it!
Its not hard, It just takes time to learn. Most things do